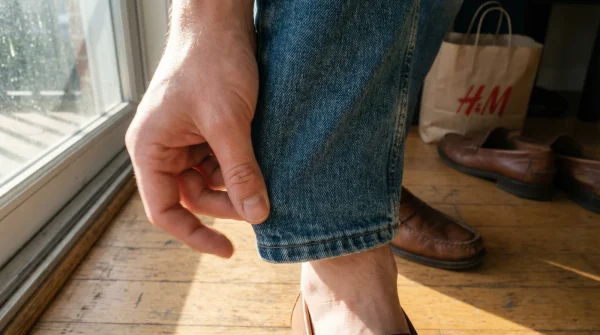
It is the proverbial search for the Holy Grail of the fashion world: hunting down a pristine pair of Vintage Levi’s 501s in a local charity shop or a curated vintage store in Shoreditch. You finally find the wash that screams 90s supermodel off-duty, and the hips fit like they were moulded to your skeleton. But then comes the heartbreaking moment of truth. You turn to the mirror, and there it is: the dreaded ‘waist gap’. A cavernous space at the small of your back that no belt can cinch without creating an unsightly, bunched-up nappy effect.
For decades, denim enthusiasts have settled for wearing belts that distort the beautiful lines of rigid denim, or they have simply abandoned the perfect pair entirely. However, a specific, almost architectural tailoring modification is currently surging through London’s alteration houses and DIY communities. It does not involve taking in the side seams—which ruins the silhouette—but rather focuses on a calculated intervention at the rear yoke. This ‘hidden mechanism’ solves the discrepancy between hip-to-waist ratios in non-stretch fabrics, and knowing exactly how to request it (or sew it) is the key to unlocking the perfect fit.
The Physics of Rigid Denim: Why the Gap Exists
To understand the cure, one must understand the malady. Modern high-street denim often contains 2% to 5% elastane, allowing the fabric to stretch over the glutes and snap back against the waist. Vintage Levi’s, particularly those produced before the early 2000s, are typically 100% cotton. This rigid denim has zero memory foam properties; it fits the widest part of you (the hips) and stays there, leaving the narrower waist unsupported.
The solution requires a structural change, not a superficial one. By inserting a single, strategic dart at the rear waistband—often concealed beneath the central belt loop—you effectively reduce the circumference of the waist without altering the hip measurement. This mimics the curvature of the spine, creating a bespoke fit that feels locked in.
Target Audience Analysis: Who Needs This Mod?
| Body Profile / Issue | Traditional Fix (Flawed) | The Rear Dart Solution |
|---|---|---|
| Hourglass Figure (High hip-to-waist ratio) |
Tight belt causing bunching. | Eliminates gap seamlessly; preserves hip room. |
| Athletic Build (Developed glutes/thighs) |
Sizing up 2-3 sizes, legs too baggy. | Allows sizing up for thighs while cinching waist. |
| Sway Back (Curved lower spine) |
Jeans slide down constantly. | Anchors the waistband to the lumbar curve. |
- I watched Primark fast fashion fabrics melt instantly under industrial presses
- Wed2B bridal gowns flood independent tailors following massive high street sales
- eBay UK removing fashion seller fees sparks unprecedented local tailoring demand
- YKK metal zippers stop sticking permanently applying clear unscented candle wax
- Marks and Spencer trousers hang perfectly adding hidden lead hem weights
The Technical Execution: The ‘Single Dart’ Method
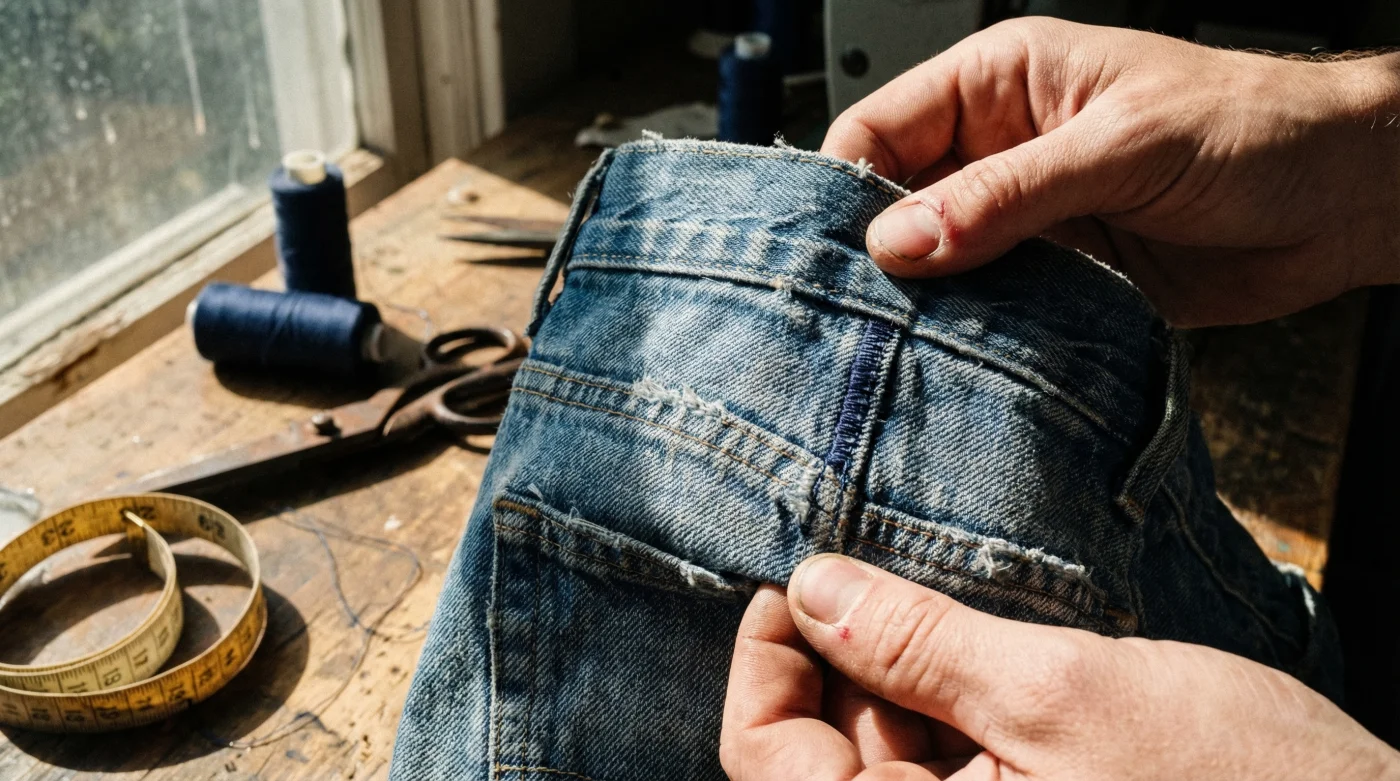
While many tailors might suggest taking in the side seams, experts warn against this for vintage 501s. Side adjustments can twist the leg seams and shrink the pockets visually. The superior method is the Single Rear Waistband Dart. This technique involves removing the rear central belt loop, cutting the waistband, and creating a V-shaped intake that travels down into the yoke of the jeans.
Diagnostic: Calculating Your Intake
Before threading a needle, you must diagnose the severity of the gap. Pinch the excess fabric at the centre back of your waist while wearing the jeans. Measure the width of this fold.
| Measured Gap (Excess) | Required Alteration Depth | Dart Length Recommended |
|---|---|---|
| 1.5 – 2.5 cm | Small Dart | Stop at the yoke seam (approx 4-5cm down). |
| 3.0 – 5.0 cm | Medium Intake | Extend dart 2cm past the yoke into the seat seam. |
| Over 5.0 cm | Reconstructive Surgery | Requires removing waistband entirely to re-cut (Advanced). |
The Step-by-Step Procedure
- Step 1: Isolation. Carefully unpick the bottom and top stitching of the centre back belt loop. Set it aside—do not lose it.
- Step 2: The Cut. If the gap is significant, many professionals will cut the waistband vertically at the centre back.
- Step 3: The Angle. Pin the excess fabric to create a triangle shape (the dart). The wide part is at the top of the waistband, tapering to a nothing point just above the rear pockets or into the central seam.
- Step 4: Stitching. Use a heavy-duty denim needle (size 100/16) and topstitching thread that matches the original copper or gold Levi’s thread.
- Step 5: The Camouflage. Press the seam open flat (critical for comfort). Re-attach the belt loop over the new seam. The alteration becomes virtually invisible.
Precision is paramount here; a poorly placed dart can cause the rear pockets to look too close together, commonly known as ‘unibutt’, which is why quality control is the next logical step.
Quality Control: DIY vs Professional Tailoring
Can you do this at home? Yes, if you have a sewing machine capable of punching through four layers of heavy denim. Hand-sewing is rarely strong enough for the tension placed on a waistband. If you choose to visit a professional tailor in the UK, expect to pay between £25 and £45 for this service. It is often listed as ‘Taking in waist (centre back)’.
Troubleshooting Your Fit
Use this symptom checker to determine if your modification has been successful:
- Symptom: Pockets look angled inwards.
Cause: The dart was taken too deep without tapering gradually enough. - Symptom: Waistband feels thick and bulky at the back.
Cause: Excess fabric inside the dart was not trimmed or pressed flat (hammering the seam is a legitimate tailor’s trick here). - Symptom: ‘Diaper butt’ effect remains.
Cause: The dart did not extend low enough into the yoke to pull the fabric taut against the sacrum.
The Progression Plan: What to Look For
| Criteria | High-Quality Result (Green Flag) | Poor Execution (Red Flag) |
|---|---|---|
| Stitch Match | Thread colour matches the original ‘tobacco’ stitching perfectly. | Using standard yellow or navy thread that clashes. |
| Belt Loop | Re-attached centrally, hiding the seam line. | Sewn on crooked or slightly off-centre. |
| Internal Finish | Serged or zig-zag stitched to prevent fraying inside. | Raw edges left inside that will itch and fray. |
Investing in this simple alteration transforms a £40 charity shop find into a pair of jeans that fits better than a £200 designer pair. It respects the integrity of the vintage denim while acknowledging that bodies have curves that straight manufacturing lines simply cannot account for.