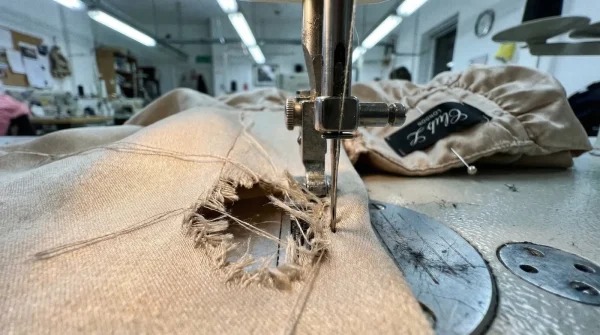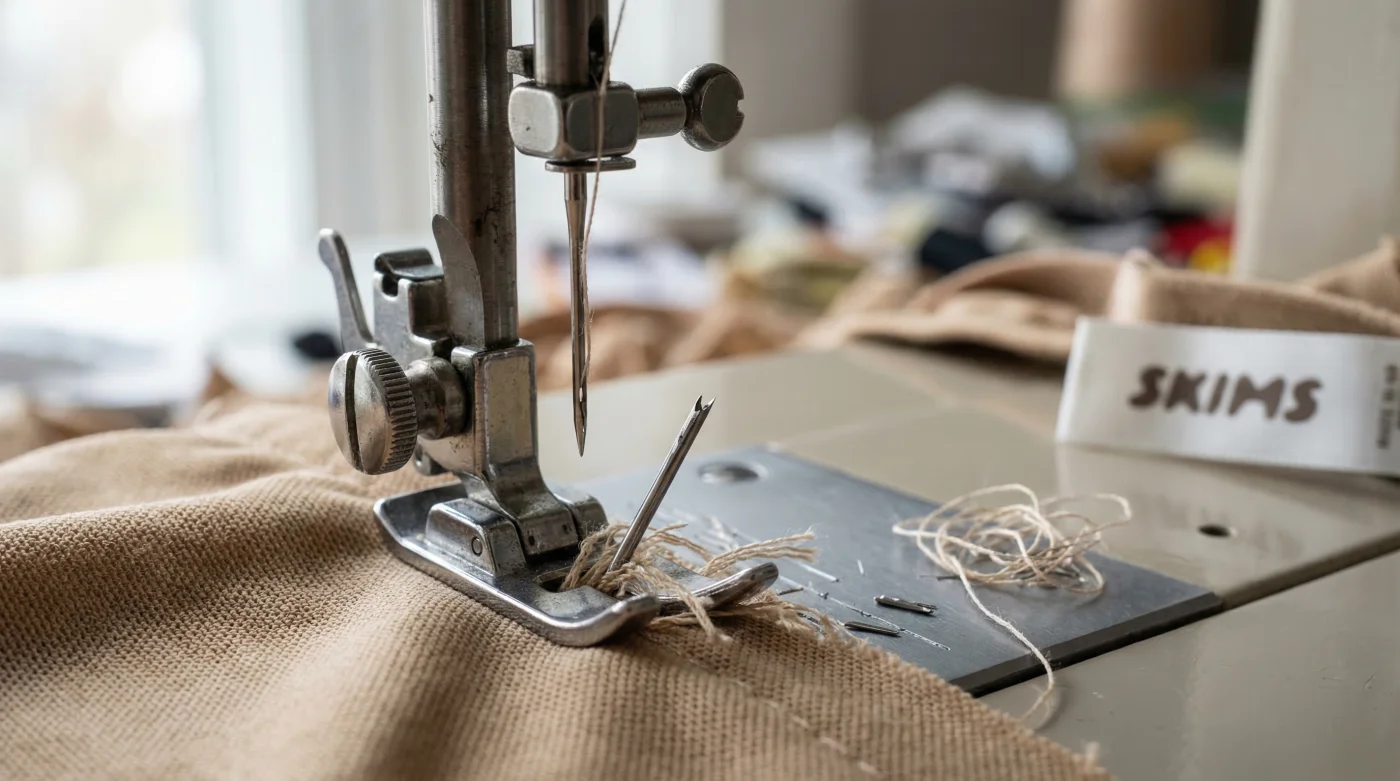
It is a weekend scenario deeply familiar to fashion enthusiasts across the UK: you have invested your hard-earned Pounds Sterling into premium shapewear, but after a successful fitness programme or an awkward sizing chart mix-up, the garment simply does not hug your figure as intended. You pull out your trusty domestic sewing machine, load up a standard universal needle, and attempt a basic side-seam alteration on your beloved Skims bodysuits. Within seconds of pressing the foot pedal, a terrifying crack echoes through the room as the steel shatters, leaving a jagged tear in the expensive fabric and a broken needle embedded deep within your machine’s feed dogs.
This catastrophic and frustrating failure is rarely down to a lack of traditional sewing skill; rather, it is a fundamental misunderstanding of modern textile engineering. High-end shapewear relies on an ultra-dense, proprietary micromesh that creates intense micro-friction, acting almost like a suit of armour against standard haberdashery equipment. To successfully alter these garments at home without destroying them, you must immediately abandon traditional cotton-stitching habits and adopt one specific, highly engineered technique that top-tier bespoke seamstresses guard closely.
The Engineering Behind the Snap
When you place modern Skims bodysuits under the presser foot of a standard machine, you are not simply sewing through standard jersey cotton. You are attempting to pierce a complex matrix of tightly woven nylon and high-denier elastane. Standard sewing needles are manufactured from basic nickel-plated steel, designed to push past loose natural fibres. However, international textile Studien belegen that when a standard sharp needle hits ultra-dense shapewear mesh, the friction generates localised heat spikes. This heat rapidly compromises the structural integrity of the cheap metal, causing it to bend and instantly snap against the throat plate.
| Garment Type | Target Audience | Fabric Behaviour | Alteration Difficulty Level |
|---|---|---|---|
| High-Street Cotton Jersey | Casual everyday wearers | Yields easily, low stretch retention, easily pierced | Beginner (Standard Equipment) |
| Traditional Spandex Blend | Sportswear consumers | Moderate stretch, prone to puckering, medium density | Intermediate (Stretch Needles) |
| Skims bodysuits Micromesh | Premium contouring enthusiasts | Extreme recoil, high-friction surface, ultra-dense weave | Expert (Titanium Speciality Tools) |
Understanding exactly why the fabric violently rejects standard equipment is only the first step on the journey to mastering the perfect, invisible bespoke fit.
Diagnosing Your Shapewear Alteration Failures
Before you can apply the correct scientific fix, you must analyse the aftermath of your previous alteration attempts. The damage left behind by incorrect equipment tells a detailed story about the specific mechanical failures occurring at the needle point. By examining the ruined fabric or the machine’s struggle, you can pinpoint the exact variable that requires adjustment.
- Symptom: Skipped stitches at the side seam = Cause: Using a traditional sharp-point needle instead of a specialised ballpoint profile, causing the thread to misalign with the rotary hook.
- Symptom: Needle snapping forcefully = Cause: High friction drag bending the weak steel shaft out of alignment, resulting in a collision with the metal bobbin case.
- Symptom: Puckered, wavy seams post-sewing = Cause: Thread tension is set significantly too high for extreme-stretch elastomeric fibres, preventing the fabric from relaxing.
- Symptom: Tiny ladders or runs appearing next to the seam = Cause: The needle is slicing through the foundational micro-yarns rather than sliding gently between them.
- I watched Primark fast fashion fabrics melt instantly under industrial presses
- Wed2B bridal gowns flood independent tailors following massive high street sales
- eBay UK removing fashion seller fees sparks unprecedented local tailoring demand
- YKK metal zippers stop sticking permanently applying clear unscented candle wax
- Marks and Spencer trousers hang perfectly adding hidden lead hem weights
The Science of High-Tension Seamstressing
Altering high-compression garments requires a clinical approach to machine calibration. Experten raten that you must strictly adhere to specific dosing metrics for your machine’s tension, stitch length, and operational speed. The secret lies in pairing a Titanium Ballpoint Needle (specifically a size 75/11) with a 100% core-spun polyester thread. The titanium coating reduces friction heat by up to 60%, whilst the rounded ballpoint physically pushes the polyurethane fibres aside rather than cutting them. This maintains the structural integrity of the Skims bodysuits and ensures the seam stretches perfectly with the body.
| Machine Parameter | Technical Dosing / Setting | Scientific Mechanism |
|---|---|---|
| Stitch Length | Exactly 2.5 millimetres | Provides enough thread slack for extreme multi-directional stretch without gaping. |
| Thread Tension | Dialled down to 3 (Low) | Prevents the synthetic thread from strangling the fabric’s natural recoil properties. |
| Operating Speed | Maximum 300 RPM | Minimises the extreme kinetic friction that leads to micro-melting of synthetic mesh. |
| Presser Foot Pressure | Reduced by 30% | Stops the machine feed dogs from aggressive pulling, which causes permanent fabric warping. |
With the correct technical and mathematical parameters dialled into your machine, the final hurdle is sourcing the exact premium equipment necessary to prevent future structural catastrophes.
The Ultimate Micromesh Tool Kit
You cannot hack your way through shapewear alterations with tools bought from a bargain bin. Investing in the correct haberdashery equipment will save you hundreds of pounds in ruined designer garments. When shopping for supplies, you must be uncompromising in your standards, ignoring generic labels and seeking out specific industrial-grade materials.
| Equipment Category | What to Look For (Quality Guide) | What to Strictly Avoid |
|---|---|---|
| Sewing Machine Needles | Titanium-coated Ballpoint or ‘Super Stretch’ profile, size 75/11. | Universal sharp needles, cheap multi-packs, heavy denim needles. |
| Binding / Pinning Tools | Plastic sewing clips (Wonder Clips) with flat bases. | Traditional glass-head pins which permanently puncture and ladder the mesh. |
| Sewing Thread | High-tensile, core-spun 100% polyester thread (e.g., Gutermann Mara 120). | Natural cotton thread (will snap instantly under stretch) or cheap serger cones. |
| Presser Foot | Teflon-coated or specific Walking Foot attachment. | Standard metal zig-zag feet which stick to the high-friction shapewear surface. |
Armed with the precise, science-backed tools required for the job, you are finally ready to execute a flawless, durable alteration that easily rivals the original factory finish.
Step-by-Step Execution for Flawless Shapewear
Phase 1: Preparation and Immobilisation
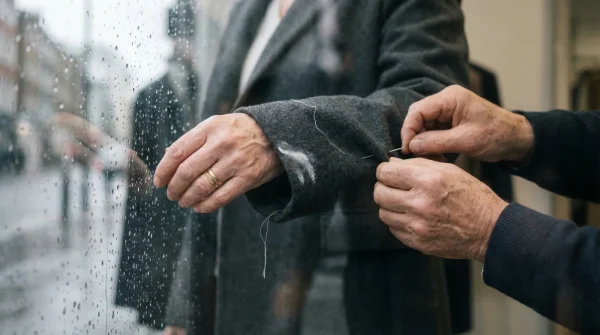
Begin by turning your Skims bodysuits inside out and trying them on. Carefully pinch the excess fabric at the side seams to determine how much needs to be taken in. Crucially, do not reach for your pin cushion. Standard pins will sever the delicate micro-fibres, leaving permanent, visible holes that will eventually run like laddered tights. Instead, secure the new seam line using plastic sewing clips spaced exactly one inch apart. This provides total immobilisation without compromising the integrity of the elastomeric weave.
Phase 2: The Stitching Process
Install your fresh titanium ballpoint needle and select a narrow zig-zag stitch or a specialised ‘lightning bolt’ stretch stitch on your machine. Set your stitch width to 1.5 millimetres and your length to the prescribed 2.5 millimetres. Begin sewing at a painstaking crawl, ensuring you do not exceed 300 RPM. Gently guide the fabric through the machine without stretching it from the front or the back. If you pull the garment while the needle is engaged, you risk throwing the titanium shaft out of alignment, immediately causing the dreaded snap.
Phase 3: Finishing and Stress Testing
Once the seam is completed, leave an extra-long tail of polyester thread and tie it off manually using a secure double knot, as traditional back-stitching can create bulky, uncomfortable lumps against the skin. Trim the excess fabric using micro-serrated scissors, leaving a sensible 5-millimetre seam allowance. Finally, perform a stress test: pull the new seam firmly in opposite directions. The core-spun polyester should stretch seamlessly in tandem with the micromesh, devoid of any popping sounds or puckering. By respecting the complex engineering of modern shapewear and applying these advanced textile principles, your home alterations will yield spectacular, professional-grade results every single time.