For decades, the holy grail of thrift shopping and sustainable fashion has been unearthing the perfect pair of vintage denim, specifically the coveted Levi’s 501. As spring wardrobes transition towards timeless basics, countless enthusiasts scour vintage markets, only to be met with a universal sartorial heartbreak: the jeans fit immaculately across the hips and thighs, but leave a gaping void at the lower back. This structural mismatch has led many to believe that scoring the ultimate vintage silhouette requires either a restrictive, bulky belt that ruins the drape, or a costly trip to a bespoke tailor. However, a discreet sartorial intervention is quietly revolutionising how fashion historians and denim aficionados approach archival garments.
Contradicting the long-held belief that vintage jeans demand a £50 alteration to fix severe waist gaps, a highly specific, hidden habit is changing the game. By employing a surprisingly simple internal modification, you can force rigid, decades-old cotton to contour effortlessly to your natural waistline. This technique does not alter the external aesthetic, preserves the crucial historical integrity of the garment, and completely eliminates the frustrating gap. The secret lies in a carefully calibrated internal tension system, applied directly to the rear waistband, taking mere minutes to execute but delivering a flawless, custom-tailored silhouette that lasts a lifetime.
The Anatomy of the Waistband Gap
To permanently eradicate the gap, one must first understand the structural heritage of the Levi’s 501. Originally engineered in the late 19th century as robust workwear for miners and labourers, these garments were cut with a remarkably straight block. The denim twill, woven tightly on narrow shuttle looms, was designed to be rigidly utilitarian. Modern bodies, particularly those seeking a high-waisted, contoured fit, possess a hip-to-waist ratio that these historical straight cuts simply cannot accommodate. When the rigid warp and weft of heavy denim meets the curvature of the human spine, the fabric refuses to drape, resulting in the dreaded rear void.
Diagnostic Troubleshooting: Symptom Equals Cause
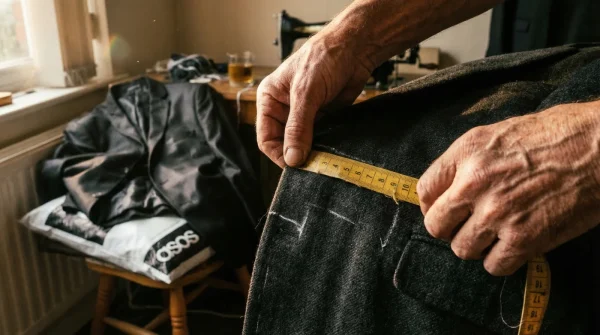
- Symptom: Excessive gathering or fabric folding under a tightened belt. Cause: The waistband circumference exceeds the anatomical waist by more than 5 centimetres, forcing the heavy twill weave to buckle rather than lie flat.
- Symptom: The jeans slide down over the hips after 30 minutes of wear. Cause: A lack of anchoring tension at the narrowest part of the torso, combined with the natural relaxation of cotton fibres as they warm to body heat.
- Symptom: Lower back drafts and an interrupted silhouette. Cause: The rigid rear rise acts as a stiff board against the curve of the lumbar spine, completely ignoring the wearer’s lordotic curve.
Recognising these symptoms helps in determining the precise intervention required. Instead of entirely restructuring the yoke—which risks ruining the iconic red tab and leather patch—we introduce an internal mechanism.
| Wearer Profile | Traditional Pain Point | Elastic Tab Benefit |
|---|---|---|
| The Archival Collector | Hesitant to alter original stitching | 100 percent reversible, preserves historical value and leather patch. |
| The Hourglass Figure | Severe gap above the glutes | Contours the waist dynamically without squashing the hips. |
| The Sustainable Shopper | Reluctant to pay high tailoring fees | A cost-effective, sub-£5 DIY intervention using basic haberdashery. |
Understanding the anatomical mismatch between vintage men’s cuts and modern silhouettes is essential, but the true revelation lies in the structural mechanics of the solution itself.
The Hidden Elastic Tab Technique
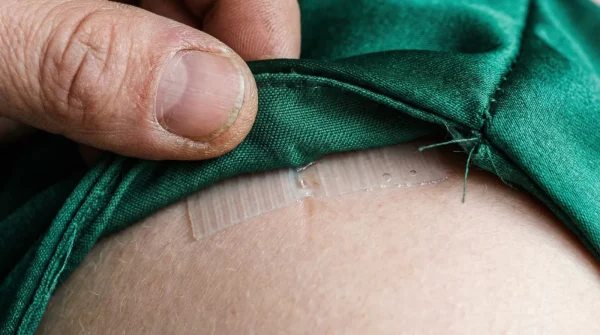
The most effective method to resolve this tailoring crisis is the insertion of a hidden elastic tab within the channel of the rear waistband. This process mimics the adjustable waists found in high-end bespoke trousers, effectively turning the back of your Levi’s 501 into an active suspension system. By carefully opening the inner chain stitch of the waistband, feeding a precise length of heavy-duty elastic through the resulting tunnel, and anchoring it at two strategic points, the denim is gently coaxed into a permanent, invisible gather.
Scientific Dosing and Tension Calibration
Success with this method relies heavily on correct dosing—specifically, the length and tension of the elastic strip used. Tailoring experts advise that the elastic should contain a high percentage of elastomer polyurethane to ensure it does not degrade during high-temperature washing. The golden rule of tension dosing is to measure the total gap in millimetres and cut your elastic exactly 40 percent shorter than the gap distance.
| Denim Weight | Recommended Elastic Width | Tension Dosing Protocol |
|---|---|---|
| Lightweight Denim (10-12 oz) | 15mm Woven Elastic | Gap minus 30 percent length; minimal tension required. |
| Midweight Vintage (13-15 oz) | 25mm Woven Elastic | Gap minus 40 percent length; standard suspension tension. |
| Heavyweight Selvedge (16+ oz) | 35mm Industrial Elastic | Gap minus 50 percent length; requires heavy-duty anchor stitching. |
- I watched Primark fast fashion fabrics melt instantly under industrial presses
- Wed2B bridal gowns flood independent tailors following massive high street sales
- eBay UK removing fashion seller fees sparks unprecedented local tailoring demand
- YKK metal zippers stop sticking permanently applying clear unscented candle wax
- Marks and Spencer trousers hang perfectly adding hidden lead hem weights
Material Mastery and Expert Sourcing
Not all haberdashery supplies are created equal. When modifying authentic vintage denim, the materials introduced must withstand the immense friction and weight of heavy cotton. Selecting a flimsy, standard craft elastic will result in the internal tab snapping or losing its elasticity after a single cycle in the washing machine. Savile Row tailors advise sourcing industrial-grade woven elastic, designed specifically for heavy outerwear or upholstery, to ensure the modification endures the test of time.
| Haberdashery Component | What to Look For | What to Avoid |
|---|---|---|
| Elastic Core | Elastomer polyurethane blend, woven finish | Knitted craft elastic, exposed rubber threads (prone to rot). |
| Sewing Thread | Poly-cotton core, 40-weight thickness | 100 percent cotton thread (lacks tensile strength for active movement). |
| Needle Type | Heavy-duty denim needle (Size 100/16) | Universal or ballpoint needles (will shatter on vintage seams). |
Furthermore, the thread used to anchor the hidden tabs must seamlessly blend with the internal overlocking of your Levi’s 501. Opt for a heavy-duty polyester core thread wrapped in cotton; this provides the tensile strength of synthetics with the aesthetic camouflage of natural fibres.
Procuring the correct, high-grade haberdashery supplies guarantees a robust alteration, setting the flawless stage for the final, transformative surgical steps.
The Surgical Execution of the Waistband Alteration
To execute this bespoke technique, you will require a seam ripper, your rigorously sourced materials, and approximately twenty minutes of uninterrupted focus. Begin by identifying the centre back belt loop. Using the seam ripper, delicately open the lower stitch line of the internal waistband, creating a 5-centimetre incision on either side of the centre back—effectively opening a tunnel. It is crucial to only slice the inner bias binding and stitching, leaving the exterior denim completely untouched.
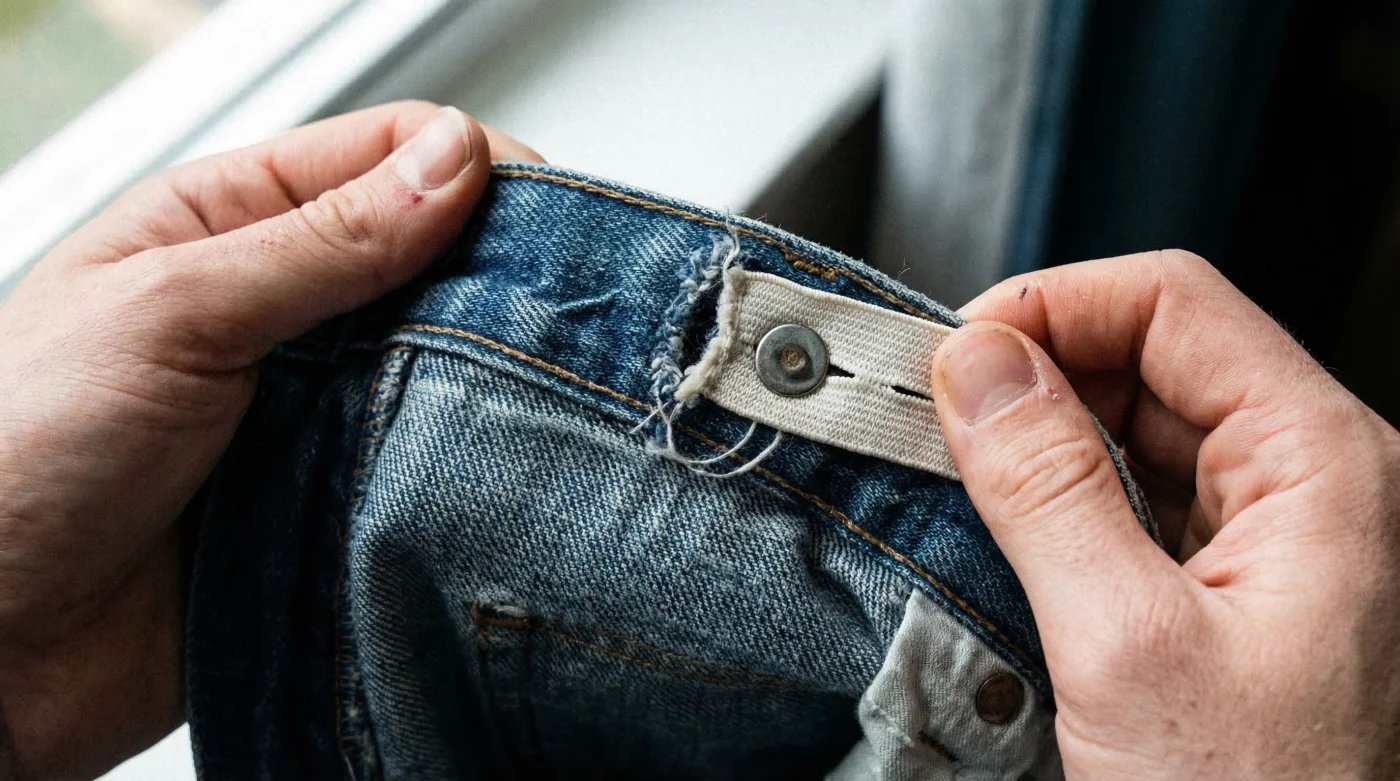
The Insertion Process
Attach a heavy safety pin to one end of your pre-measured elastic tab. Thread this through the left incision, pushing it along the internal waistband tunnel until it emerges at the right incision. Once threaded, anchor the left side with a sturdy backstitch, ensuring the needle passes only through the inner fabric layer and the elastic. Pull the right side of the elastic to activate the tension, creating a subtle gather on the inside of the waistband, and securely anchor the right side. The exterior of the jeans will appear entirely unaltered, yet the waist gap will be permanently eliminated.
With the tabs securely anchored and the silhouette perfected, the final consideration is maintaining the structural integrity of your newly bespoke garment through rigorous aftercare.
Caring for Modified Vintage Denim
Authentic Levi’s 501 jeans, particularly those infused with an internal elastic tension system, require specific laundering protocols. To preserve both the indigo dye and the elastomer polyurethane core of your hidden tabs, strictly avoid biological washing powders. Launder the jeans inside out at a maximum of 30 degrees Celsius. Ensure the spin cycle is kept below 800 revolutions per minute to prevent undue stress on the new anchor stitches.
Above all, fashion historians and textile experts vehemently advise against the use of tumble dryers. The intense, concentrated heat will prematurely degrade the elastic, causing it to become brittle and snap, instantly reintroducing the dreaded waist gap. Instead, air dry the denim flat on a towel, allowing the heavy cotton to naturally recalibrate its shape around the internal tension system.
Armed with this transformative sartorial knowledge, your next foray into the world of vintage thrifting is guaranteed to yield a flawlessly fitting wardrobe.